Showing posts with label tutorial. Show all posts

Tuesday, May 18, 2010

Homemade Brown Rice For Baby Tutorial


Brown rice is much healthier then white rice, it contains Iron, which is a nutrient that can be low in breastfed babies, phosphorus, B1, B6, and B3, fiber, and fatty acids. Its also yummy and a great starter food for babies. 

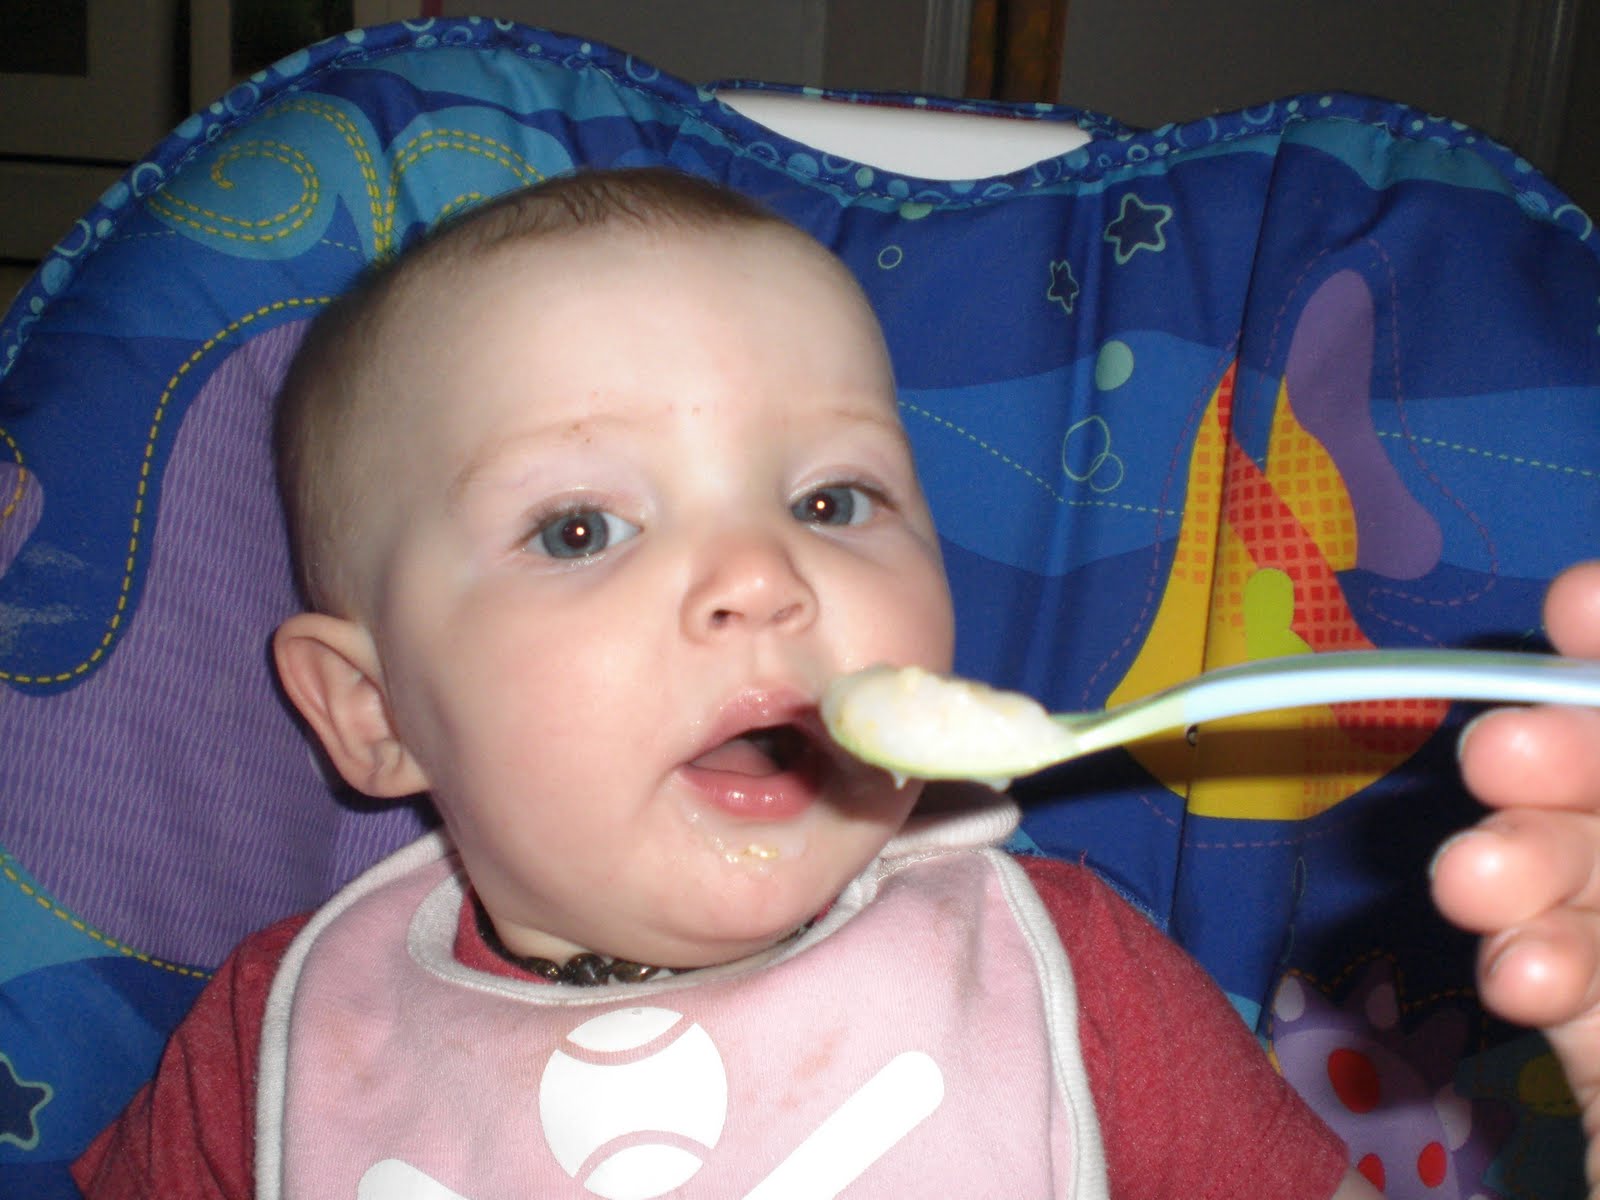
 I make it for Annabella pretty regularly. She loves it and it fills her right up! I started out by making this very thin and smooth for her, now I make it with quite a bit of texture so that she can 'chew'  it.  A little goes a long way, and its cheap to make So heres a tutorial on how to make it for your little one!

You're going to need One cup of brown rice and six or seven cups of water, I also add a pinch of salt, but you don't have to do this, this makes enough brown rice to last for a while, I freeze some and leave about half of it in the fridge, I just warm it up in the oven.


First, put six cups of water and one cup of brown rice in a pot and bring to a boil 


Let it simmer and stir it occasionally, this should take about two hours  for almost all the liquid to absorb. 


Check the rice, it should be VERY soft, you shouldn't have to bite any of the grains, but be able to mush them with your tongue on the top of your mouth (thats my best description)


If its still not soft enough add a half to a whole cup of water and let it simmer for about another hour.  Be sure that there is still a little bit of liquid left with the rice so that you can puree it in a blender or food processor. 


Now you are going to want to let the rice cool for about a half hour, so that you aren't working with mega hot rice, as it tends to burn.


Transfer everything to a blender or food processor.


Put the top on and blend at high speed. 


Check the consistancy, when it is where you want it, you are done!
Transfer it to a bowl


Now you are ready to freeze it or put it in the fridge. Or feed it to your little one!


Mmmm


Hope you make this for your little ones! It is certainly a hit in our house

Sunday, April 25, 2010

Fabric High Chair


I found this tutorial from this mama makes stuff about three months ago,
Annabella wasn't able to eat solid foods or sit up yet
As soon as we were old enough to start eating, I stalked my favorite craft store The Legacy in Sebastopol (where they sell recycled fabric at $2.00 a pound)
for the right fabric, and then I found about two yards of adorable green spotted prequilt.
And about four yards of a pink geranium print (how springy!)

I already had the velcro, so here is what I came up with
(excuse the messy shirt, these pics were taken post banana)

It works great
Annabella loves it because she can play with her toes

Its so small, I can take it anywhere with us!

Thanks again to this mama makes stuff
be sure to check out here site

Don't forget to enter my Soapnuts and extreme 18x giveaways!

Sunday, March 7, 2010

It ain't easy being green..safety/stuffing tutorial.


So just in case you missed my last post on my finger. It hurts still....

So I found out that a local consignment shop is taking baby clothes to sell on consignment (Cha-ching!) I mean, normally I would just donate them to good-will, but I'm pretty broke these days so I decided I would bring Annabella's nice clothes in to sell

So I went through the bag of clothes that I had saved up for other people and went through them, what to sell what to keep. I came up with some clothes that wouldn't sell because they had been altered by me into some sloppy t-shirts. Because the onsies stopped fitting over her cloth.

Anyways, I also took out the box of baby clothes, that I had been saving for a quilt, now there was all this fabric that I could do nothing with, you know that part of the fabric that you can't use for a quilt, there were all these little odds end ends that were too small, or to plain or stained to do anything with.

I was all out of stuffing so I figured, hey why not try to make my own

So first I cut off all the seams

The dogs at the farm have been requesting a dog bed, I think that these will work, I also saved the snaps and zippers for future projects.


So I had all this fabric! Thats a lot of stuff to just throw away!

DANGER
Please be careful and go slow!
Blades on rotary cutters are very sharp
Keep your free had off the cutting mat
GO SLOW

This is what can happen
don't let it happen to you, be careful

Alright, here we go

Lay your clothes out on the board in no more than 2 layers, this is a great way to use old rotary blades if you save them (I never have but I might now that I discovered this, I like to use a new one for each project but they are SO expensive)


Start cutting lines in your fabric. I like to make grids, don't worry about perfect, obviously this won't matter
GO SLOW
Just keep cutting, remember to keep your free hand off the mat, and go slow so you stay in control of the blade
HOORAY!

Now crumple it all up, if any pieces are too big, cut them now or just save them for the next layer
Here's my bag of stuffing, I'm going to make Annabella a stuffed animal with some of the smaller pieces of fabric and stuff it with these! I'll post pics

Wednesday, March 3, 2010

Chicken and Biscuits, a versatile recipe/tutorial


Mmmm.... Chicken and dumplings... I was recently informed that this is not chicken and dumplings but its chicken and biscuits. Due to the fact that I bake them and make them crispy, either way its a favorite in our house. I came up with this recipe because I wanted a quick and easy version of one of my favorites. In the recipe I will put substitutions for what you can use if you don't have what I did on hand.

Ingredients
  • 2 boneless skinless chicken breasts
  • 4 cups chicken broth
  • 2 tbsp olive oil
  • 5 peeled carrots (these don't have to be fresh, frozen will work fine
  • about 4 cups of frozen veggies (I used peas, green beans, and corn any veggies that you like will work just fine)
  • Spices (I recommend, savory, Bell's Seasoning, garlic powder, marjoram, thyme, celery salt, rosemary, parsley and bay leaves) a pinch of each, You can change this as you see fit
  • Salt and Pepper


1.   Gather all your ingredients, Cut chicken into 1 inch pieces, season with spices and salt and pepper, mix so evenly coated


spices


Tip:  Bells seasoning comes in a box for some reason, I like to put it in an old spice jar so it keeps better for longer. Paint Markers work great for writing on glass


thats the seasoned chicken


2. Heat the Olive oil in a dutch oven or heavy saucepan, over medium heat (never put your dutch oven on high).


3.When it starts to sizzle add the chicken. Cook until golden on both sides or white all the way through


4. Meanwhile cut the carrots into half inch thick slices


5. When the chicken is all cooked 


Add the broth
And the carrots
6. Bring this to a boil


7. Now you can be creative, go into your freezer and pull out whatever frozen veggies you have


measure out 4 cups, make sure your chicken doesn't get into it!


now pour it into your soup. Turn it down to low and leave it to simmer

We are going to make BISCUITS!
My camera battery died halfway through my biscuit procedure, which is no good! But I promise to update this week with another biscuit tutorial so you can understand what everything looks like!

Recipe
  • 2cups white flour (I like to replace1/2 c white flour  with 1/2 c whole wheat flour when I have it
  • 4tsp baking powder
  • 3/4tsp salt
  • 4tbsp unsalted butter
  • 1c buttermilk (If you don't have buttermilk don't worry, just add 1tbsp white vinegar to a cup of milk and let it sit for five minutes before using, I do this often and it works every time)
Preheat the oven to 400

1. Whisk or sift together the flours, baking powder and salt


2. Add the butter and blend it together with your fingers, it will look like crumbs, you can use a pastry cutter if you don't want to use your hands, but they are gonna have to get dirty anyway

this is where my camera died
3. Make a well in the middle of the four mix, and pour the buttermilk into the middle
4. mix together until evenly wet, the mix will be VERY wet
5. Generously flour a surface, put the biscuit mix onto the surface and kneed until it is manageable
6. Cut the dough into 12-14 pieces and drop the balls on top of the soup, put it in the preheated oven with no top and bake for 15-20 min until golden brown
(this also coincidently is the same time it takes for my camera to charge


ooo crusty top
whats hiding under there?


    Oh yea

    Hello to all my new followers thank you so much for all the love! I have been very busy checking out blogs today! There are so many talented mommies out there!

    Wednesday, February 17, 2010

    Flower Headband Tutorial

    Well here it is, instructions on how to make your own flower head band just like the ones that I make for Annabella.

    These are simple and only take about one hour to make, probably less if you are really good at crocheting! And of course depending on how big you want the flower, you can easily add more rounds of petals to this by following the instructions on the bottom

    I have done my best to write clear instructions please let me know if you have issues and I will do my best to answer them. I'd love to see pictures if anybody makes one!

    Ok here we go

    Step One

    Get your yarn and your hook, I used a size H-8 for this one, but it doesn't really matter what size you use. Also you will need yarn.


    Step 2:


    Chain six 

    Step 3:


    Skip the first single crochet, single crochet into the back loops of all the single crochets on the row, this creates the ribbed effect

    Step 4:


    Chain one and turn, continue as with row one, single crocheting into the back loops to continue with the ribbed effect


    Step 5:
    Keep single crocheting in those back loops! You can see the ribbing start to take effect

    Step 6:


    Keep Going

    Step 7:

    When it is a little smaller then the size you want it then you are done, remember that this ribbed effect makes  so that the headband will stretch that way it stays on the head well

    Step 8:
    Now you are going to slip stitch the two ends together to make it a band,  Crochet the ends of the yarn back into the band where you slip stiched so that it looks neat, you can also save these ends and if you don't have a needle and thread handy, use them to tie the flower on

    The Flower
    Step 1:

    You are going to make a magic ring (find out how to make one here) Single Crochet five in the ring, slip stitch to the top of the first (you will have six single crochet)


    Step 2:
    Chain one, two single crochets in each single crochet from row one (you will now have 12)

    Step 3:
     Cut the yarn from color one, and add on color two by slip stitching it into the first chain of the ring

    Step 4:
    Now you are going to chain one, in the next single crochet, half double crochet, double crochet, half double crochet,  slip stitch into the next single crochet, do this all the way around and connect it to the first petal. You will have six petals

    Step 5:
    Now heres where it can get a little tricky, turn your flower over on the back and insert your hook into the back of one of the posts of the single crochets that you slip stitched into. You will bring up the thread and chain four, single crochet into the back of  the next slip stitched single crochet. then chain 3, do this all the way around you will have six. Connect with a slip stitch to first slip stitch

    Step 6:


    In each of the chain 3 that you made you are going to chain two, make a half double crochet, three double crochet, and a half double crochet, then slip stitch into the next set of  chains, slip stitch the last petal to the first and finish off your yarn,

    You can easily add more layers by adding triple crochets or more double crochets and adding on more petals like you did this row

    What A Lovely Flower! We are almost done!

    Joining the flower to the headband

    On this headband I used a needle and thread to connect the flower to the headband.

    Step 1:

    Gather your materials

    Step 2:

    Sew the flower on, simple, you probably didn't need a picture, but I was in tutorial mode so.


    What the back might look like.

    The other way to do this would be to not weave the ends of your strings in, and use them to tie the flower on, I have done this before and it works well, especially if you leave the ends really long and crochet them around the whole middle of the flower. But I think the needle and thread looks best


    She wasn't really in the modeling mood this morning but you get the idea.

    Note: I'm sure that there are many patterns similar to this on the internet, because thats how I learned how to make a flower, however, this is a compilation of all those ideas mushed around in my head and then put together. 


    Now go make one and let me see it!

    Headband

    Ch 6
    row 1: sk 1st ch, sc in back loop of nxt 5 st ch 1 turn
    row 2-?? continue pattern to create ribbed effect till large enough
    sl st first row to last row

    Flower

    Magic ring
    rnd1: ch 1 5 sc in rnd sl st 1st ch1
    rnd2: ch 1 2sc in each sc
    rnd3: change color,
              ch 1 *(hdc, dc, hdc) in nxt sc, sl st next sc* repeat from * to complete round  st sl st to 1st ch1
    rnd4: change color
           sl st into back post of 1st (sl st in sc) ch 4 *sc in next back post, ch 3* repeat from * to complete round
    rnd5: in next set of ch *(ch2, hdc, 3dc, hdc) sl st in next sc * repeat from * to complete round and finish